 Mobile Phone Rework Repair BGA Reballing Stencils For iPhone 7
 Subtotal: R45


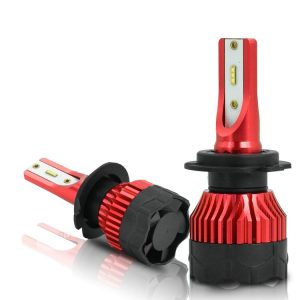
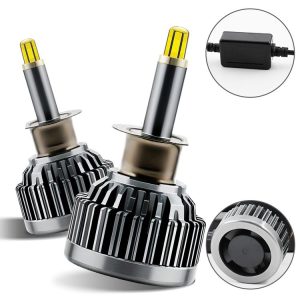
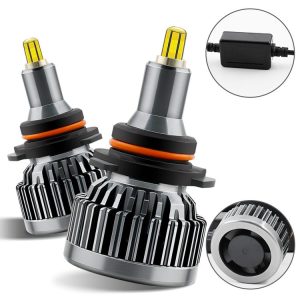
LED Headlamps
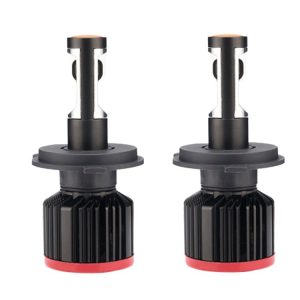
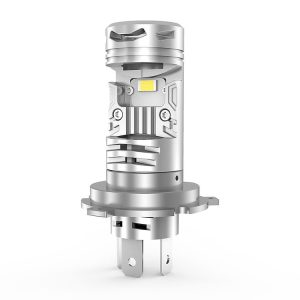
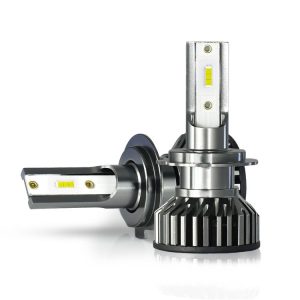
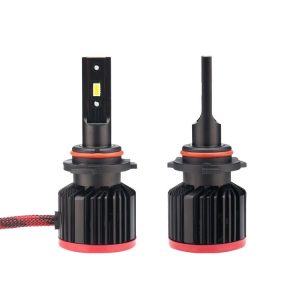
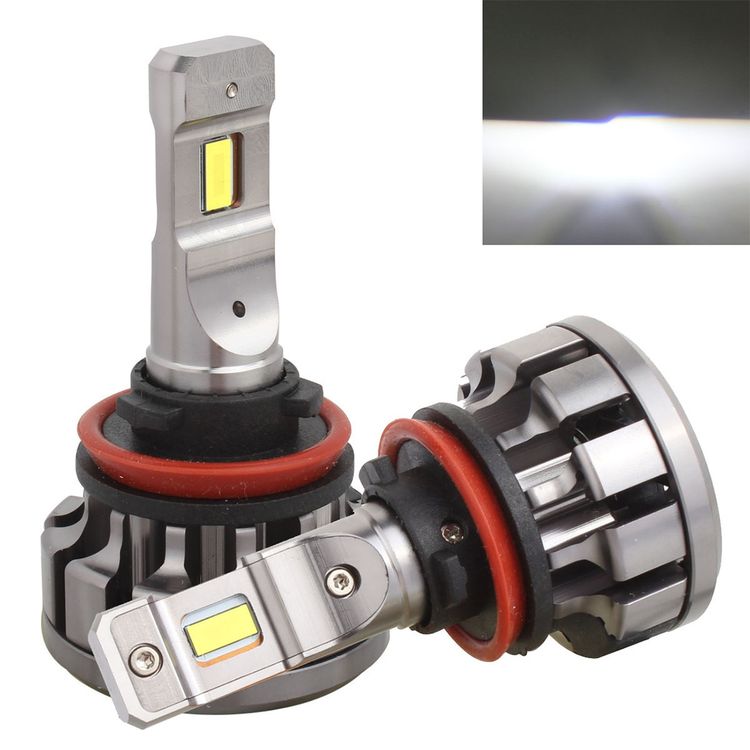
2 PCS V1 H8 / H11 30W 2200 LM 6000K IP67 Car Headlight with 6 Philip Lamps, DC 12-24V (White Light)
R1207
In Stock at Supplier
Get 10% off your order by using the promo code YOINK10 at checkout!
| Didn't find what you're looking for? Take a look at these Similar Products or have a look at these Closely Matched Products | |
| Got questions or need assistance? Please take a look at our Frequently Asked Questions or Contact Us |
Overview
Feature
1. Newest technology single base plate two-sided SMD patch technology,mature stable thermoelectric separation technology,can make the luminous position between the two LED Chips closer to the center,to achieve the best focusing effect;
2. The thickness of the copper plate is the same as that of the halogen lamp 0.8mm;
3. The focal length of the copper plate is the same as that of the halogen lamp 6mm;
4. Planar luminescence LED Chip lumen output is much higher than the industry level;
5. Aviation aluminum alloy shell,good heat transfer effect,cooling fast and continuous;
6. Japan technical double ball high speed turbo fan 10,000rpm / 50,000hrs lifespan;
7. Mini driver can also be installed in a small space;
8. Wire using flame retardant materials resistant to high temperature;
9. Hi/Lo beam bulb have auto switch function,negative control models can also be used,non-polar install;
10. Implanted interference free circuit,reduce electromagnetic radiation,keep radio function in normal use;
.No line change,Not modified,No damage to any component,Plug and play,Circuit anti reverse function,0.001 second boot.
Installation instruction
1.Led headlight kit installations start with preparation.You have to make sure the vehicle is off the battery is disconnected,and the engine is cooled down.This is will ensure your safety.
2.Now we can move to the actual installation.If you have a single low beam kit,locate your low beam dust cover on the back of your headlight assembly.Remove the cover by twisting it counter clock wise.This should unscrew the dust cover giving you access to the bulb.Make sure you unplug the bulb from the wiring harness before you attempt to remove it.Now you can continue to place the LED bulb in place of the halogen bulb you just removed,just make sure you don’t touch the glass part of the bulb.Customers can contact with us for installation detail for any bulbs size like 9007/9004 80W installation with more complicated steps.
3.Installing the ballast/driver.First thing is to find a good location to place the ballast,somewhere close enough to able to reach the bulb with the wiring plugs.Once you have the ballast secured then you can proceed to plug the wiring to the bulb,and plug the old harness to the ballast.
4.In Led headlight kit installation is to double check all the wiring plugs to make sure everything snapped into place correctly.Also double check to make sure that the ballast/driver is securely attached to the vehicle.Now you can reconnect your battery and test out your new LED upgrade.
Note
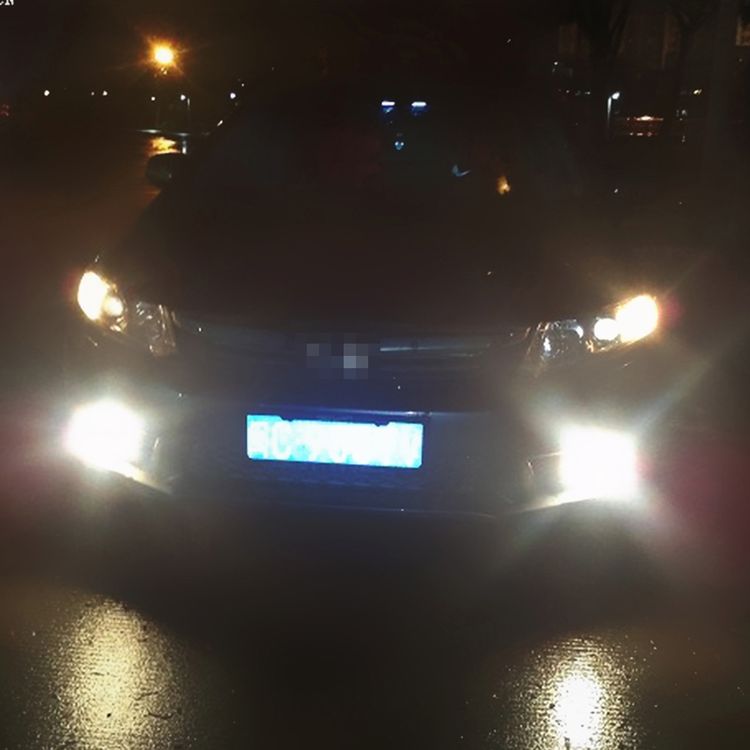
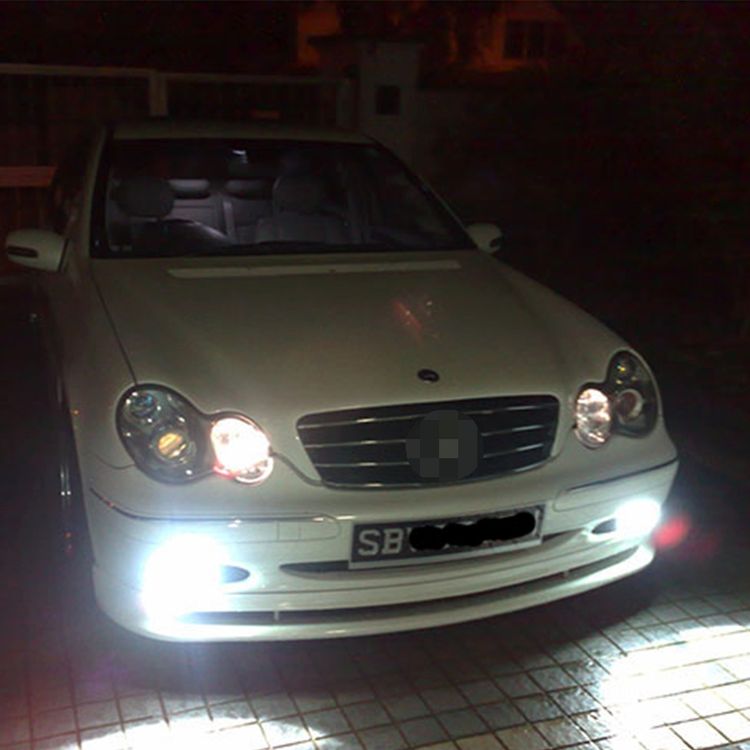
These bulbs are CanBUS-Ready and will work with most vehicle’s computer system without error.If you are not sure whether the right,please contact us before purchase.
Additional Information
General
Bulb Base: H8, H11
Lamp Beads(pcs): 2*6pcs
Lumens(LM): 2200LM
Lifetime: 50000 hours
Wattage: 30W
Light Color: White Light
Color Temperature: 6000K
Voltage (V): DC 12V – 24V
Weight & Size
Weight: 0.476kg
Size: 19cm x 13cm x 5cm
Delivery Options
We deliver straight to your home or office anywhere in South Africa.
- Courier Delivery with a cost of R75 on all orders.
Additional Charges
There are no extra fees or additional charges for shipping and delivering your order.
Processing, Handling & Delivery Timeframes
Once your order is placed, the following timelines apply:
- Order Cut-Off Time: 2:00PM (SAST)
- Handling Time: 1 – 2 business days (Monday – Friday)
- Transit Time: 5 – 7 business days (Monday – Friday) within South Africa.
- Total Delivery Time: 6 – 9 business days (Monday – Friday) within South Africa.
Note: Business days are Monday to Friday, excluding weekends and public holidays.
Kindly note that certain products may need extra time for processing and delivery, depending on where they are sourced from.
Shipping Locations
We only deliver within South Africa.
Shipping Carriers
We utilize the following couriers for order deliveries:
Order Tracking
Once your order is dispatched, you’ll receive an email with your delivery details and a tracking number. You can also track your order on our Track Your Order page.
Damages & Issues
Please inspect your order upon delivery. If you notice any damage, incorrect items, or missing products, check them in the presence of the courier and please Contact Us immediately. We’ll resolve the issue as quickly as possible.
Lost Orders
We guarantee the delivery of all orders. If your package is lost, stolen, or damaged, we will either send a replacement or issue a full refund.
Order Cancellations
You can cancel your order at any stage during the handling, shipping and delivery process. Please Contact Us if you need to cancel your order, and we’ll be happy to assist you.
Kindly Note: If the order has already been shipped, it must be returned or redirected back to the supplier before the order cancellation can be completed.
Order Modifications
You can modify or amend your order items before they are dispatched. Please Contact Us if you need to change anything on your order, and we’ll assist you.
Delivery Delays
While rare, delays can sometimes occur, particularly in remote areas. If your delivery takes longer than expected, please Contact Us, and we’ll assist you.
Failed Deliveries
If no one is available to receive your package at the delivery address, we’ll notify you of the failed attempt. We’ll then work to reschedule the delivery within 24-48 hours.
Changing Your Delivery Address
If you need to update your delivery address due to a mistake or change, simply reply to your order confirmation email with the correct details, or please Contact Us for assistance.
Overview
We offer a 365-days Return and Refund Policy, meaning you have 365 days from your date of purchase to request a return.
We want you to love your purchase! If you’re not completely satisfied, you can return the product for a repair, replacement, exchange, store credit, or refund.
Return Eligibility
To qualify for a return, your product must meet these conditions:
- Items must be in its original packaging.
- Items that was delivered defective, damaged, incorrect and missing parts due to errors not of your own.
- Items must be unused, undamaged, complete and not missing parts unless due to our error.
- Or used and/or unused items that are still within the warranty and guarantee period.
- You must provide proof of purchase.
How to Start a Return
To request a return, please Contact Us or submit a return request here or you can log a warranty claim request here. Once your return is approved, we’ll send you a return shipping label and instructions. Items returned without prior approval won’t be accepted.
Damages & Issues
Please inspect your order upon delivery. If you notice any damage, incorrect items, or missing products, check them in the presence of the courier and please Contact Us immediately. We’ll resolve the issue as quickly as possible.
Exchanges
To exchange an item, you’ll need to return the original product first. Once your return is approved, you can place a new order for the item you want.
Return Costs
All returns are free! We’ll arrange a courier to collect the item at no cost to you.
Restocking Fees
We do not charge restocking fees.
Lost Orders
We guarantee the delivery of all orders. If your package is lost, stolen, or damaged, we will either send a replacement or issue a full refund.
Order Cancellations
You can cancel your order at any stage during the handling, shipping and delivery process. Please Contact Us if you need to cancel your order, and we’ll be happy to assist you.
Kindly Note: If the order has already been shipped, it must be returned or redirected back to the supplier before the order cancellation can be completed.
Warranty and Guarantee
We want you to shop with confidence, which is why our products are covered by a 365 days Warranty and Guarantee.
All our products come with a minimum 365 days warranty and guarantee.
If you discover a defect within the first half of the warranty and guarantee period from the purchase date (as shown on your proof of purchase), we will gladly repair, replace, issue store credit, or provide a full refund.
For defects identified after the first half and within the second half of the warranty and guarantee period, we are happy to repair or replace the product.
You can log a warranty claim request here. Need assistance with a warranty claim? Contact Us for support and more details.
Additional Information:
All warranty claims go through an approval process handled by either Yoink and/or the manufacturer.
Please note that we do not cross-ship. This means we will only process returns once the defective product has been received, inspected, and approved for repair, replacement, store credit, or refund.
Warranty coverage will be void if:
- The product has been opened, tampered with, or altered.
- The serial number, manufacturer model, part number, or warranty sticker is missing, damaged, altered, or unreadable.
- The defect is due to wear and tear or physical damage.
- If a certified professional did not install it – (Depending on the nature of the product, eg. electronic components and/or repair parts).
For any further information, please Contact Us.
Refunds
Once we receive and inspect your return, we’ll notify you about the approval status. If approved, your refund will be processed to your original payment method within 10 business days. Please note that banks and credit card providers may take additional time to process the refund.
If more than 10 business days have passed since your refund was approved and you have not received your refund as of yet, please Contact Us.